Attention
This documentation is under active development, meaning that it can change over time as we refine it. Please email help@massive.org.au if you require assistance.
Using the Desktop Application in Strudel2#
Connecting to a Desktop Session
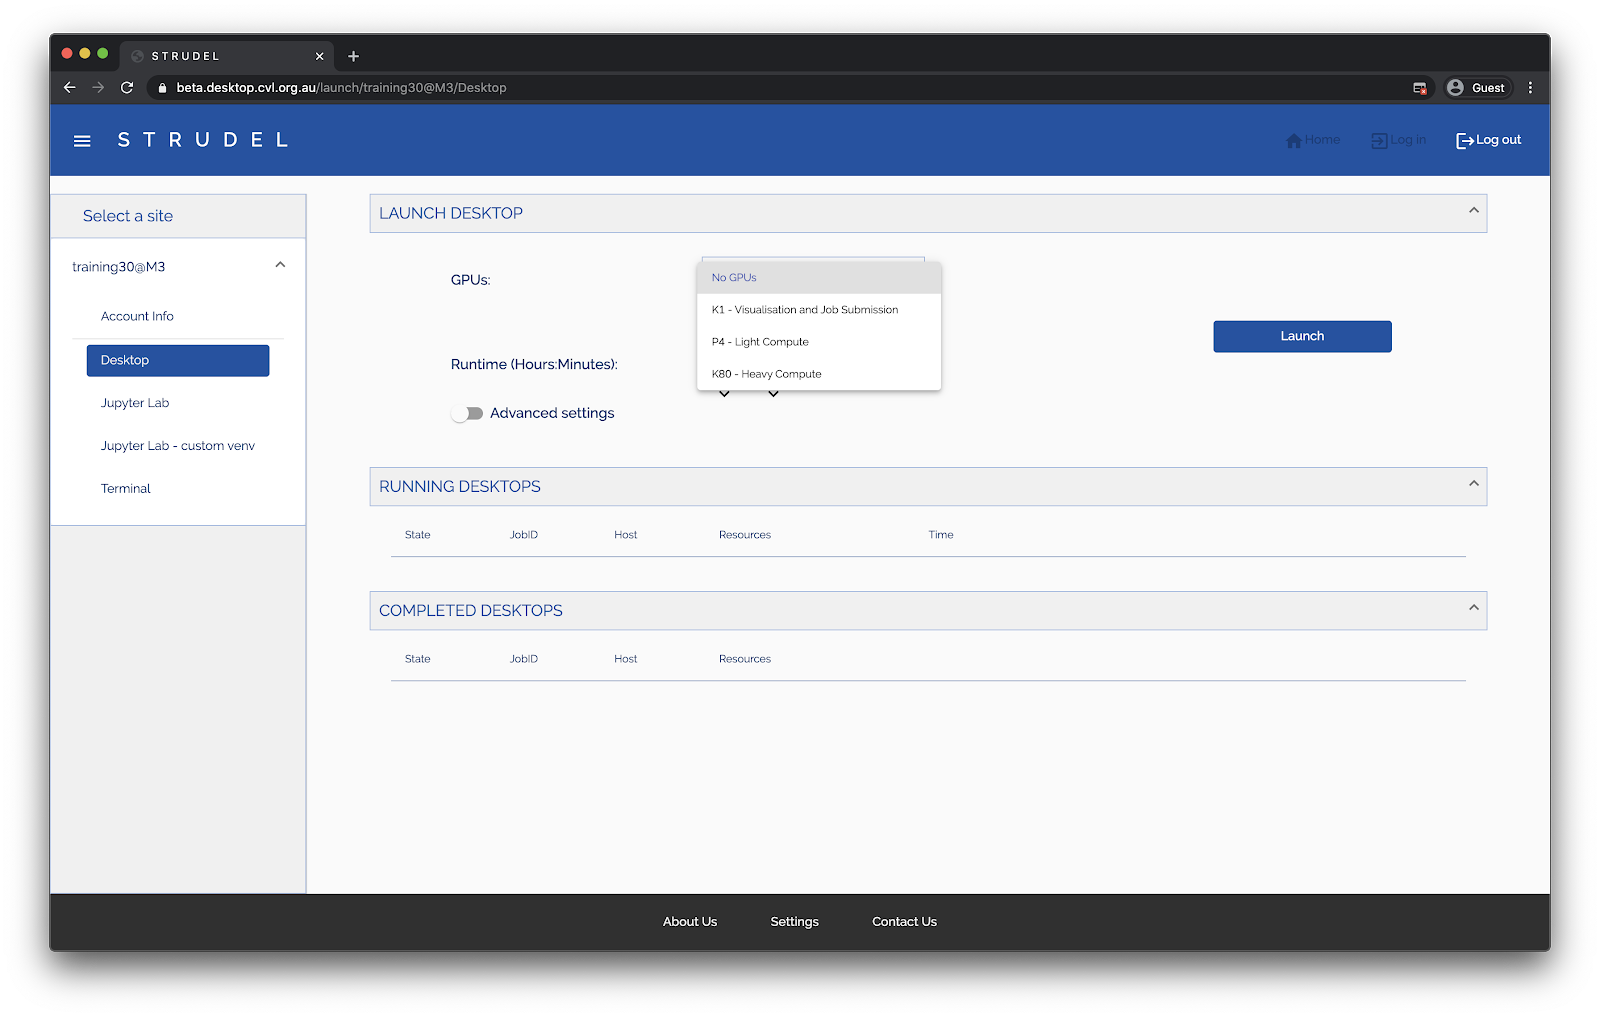
The desktop application page has a range of information that can assist with your usage. Select “Desktop” from the left hand side menu, and you will be taken to this page:

The page is divided into sections. The top section is where you choose the parameters for your desktop session. Select how long you want to use the desktop for, remembering that other researchers are also sharing the infrastructure and that at the end of the time your desktop will close down. The second section displays information about your running or soon to be running desktop. The final section is for historical data, which includes your CPU and memory usage, important for helping you decide which desktop flavour is necessary.
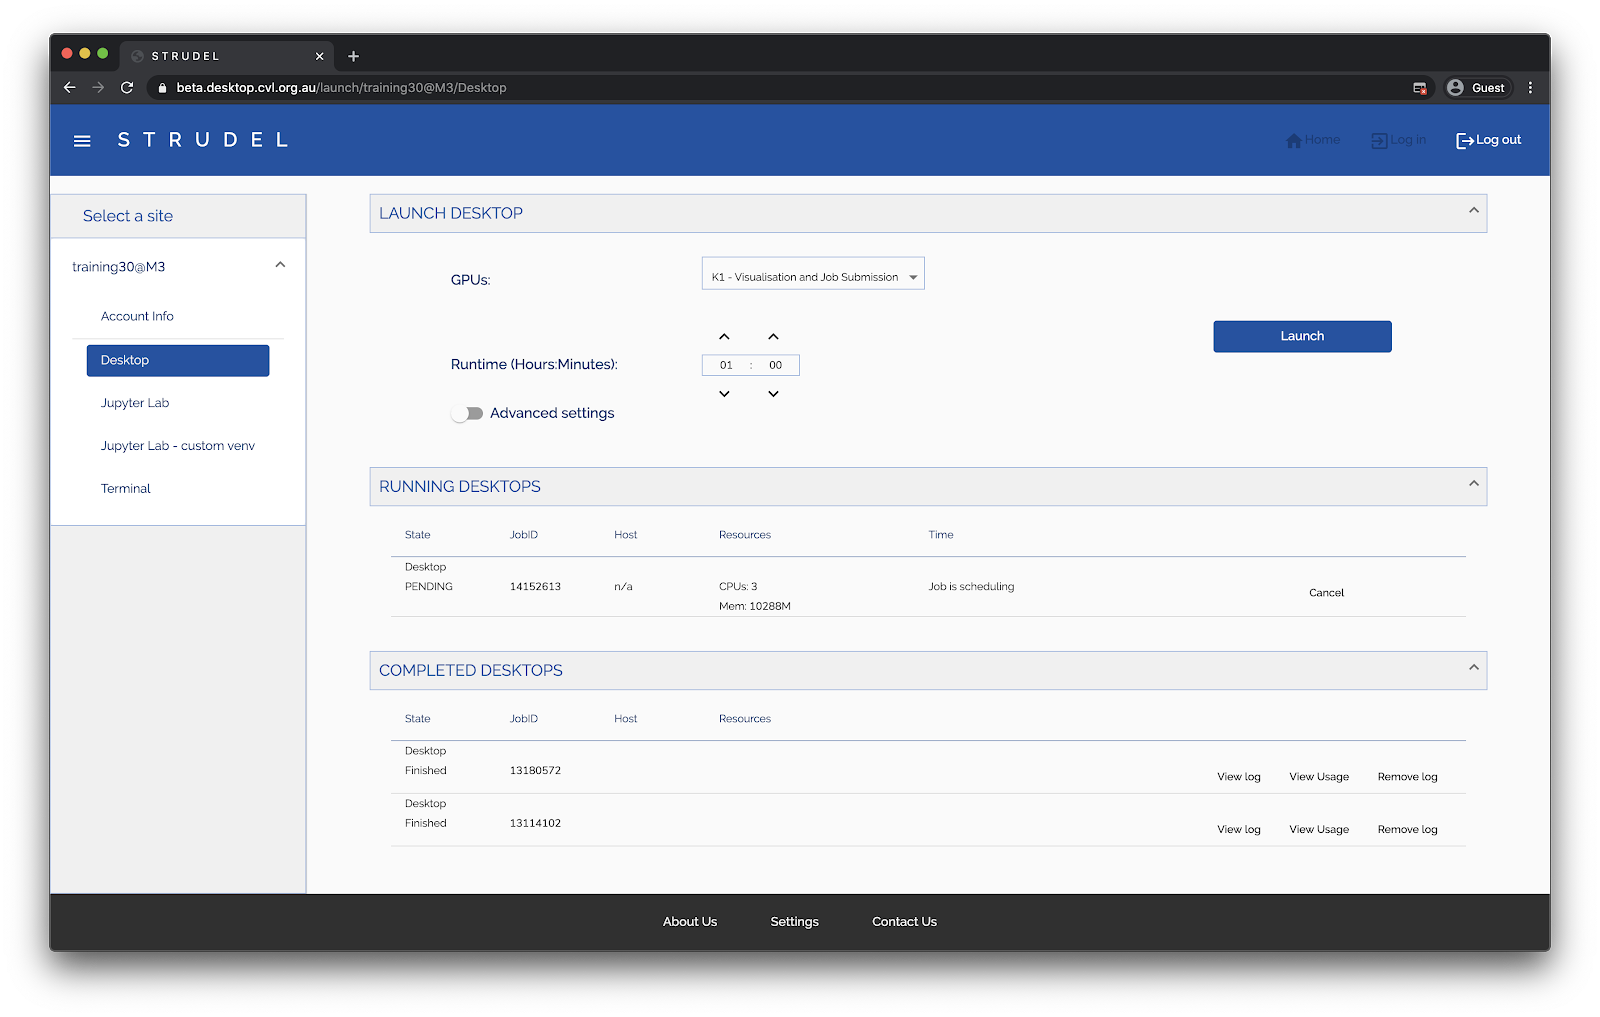
To start a session, set your parameters and click “Launch” at which point the display will change and there will be a new line in the “RUNNING DESKTOPS” section. The new line will show information about your request. In the “Time” column there will be an estimated start time for the desktop or that the job scheduler (Slurm) is finding a node on which to run the desktop for you with the message “Job is scheduling”.
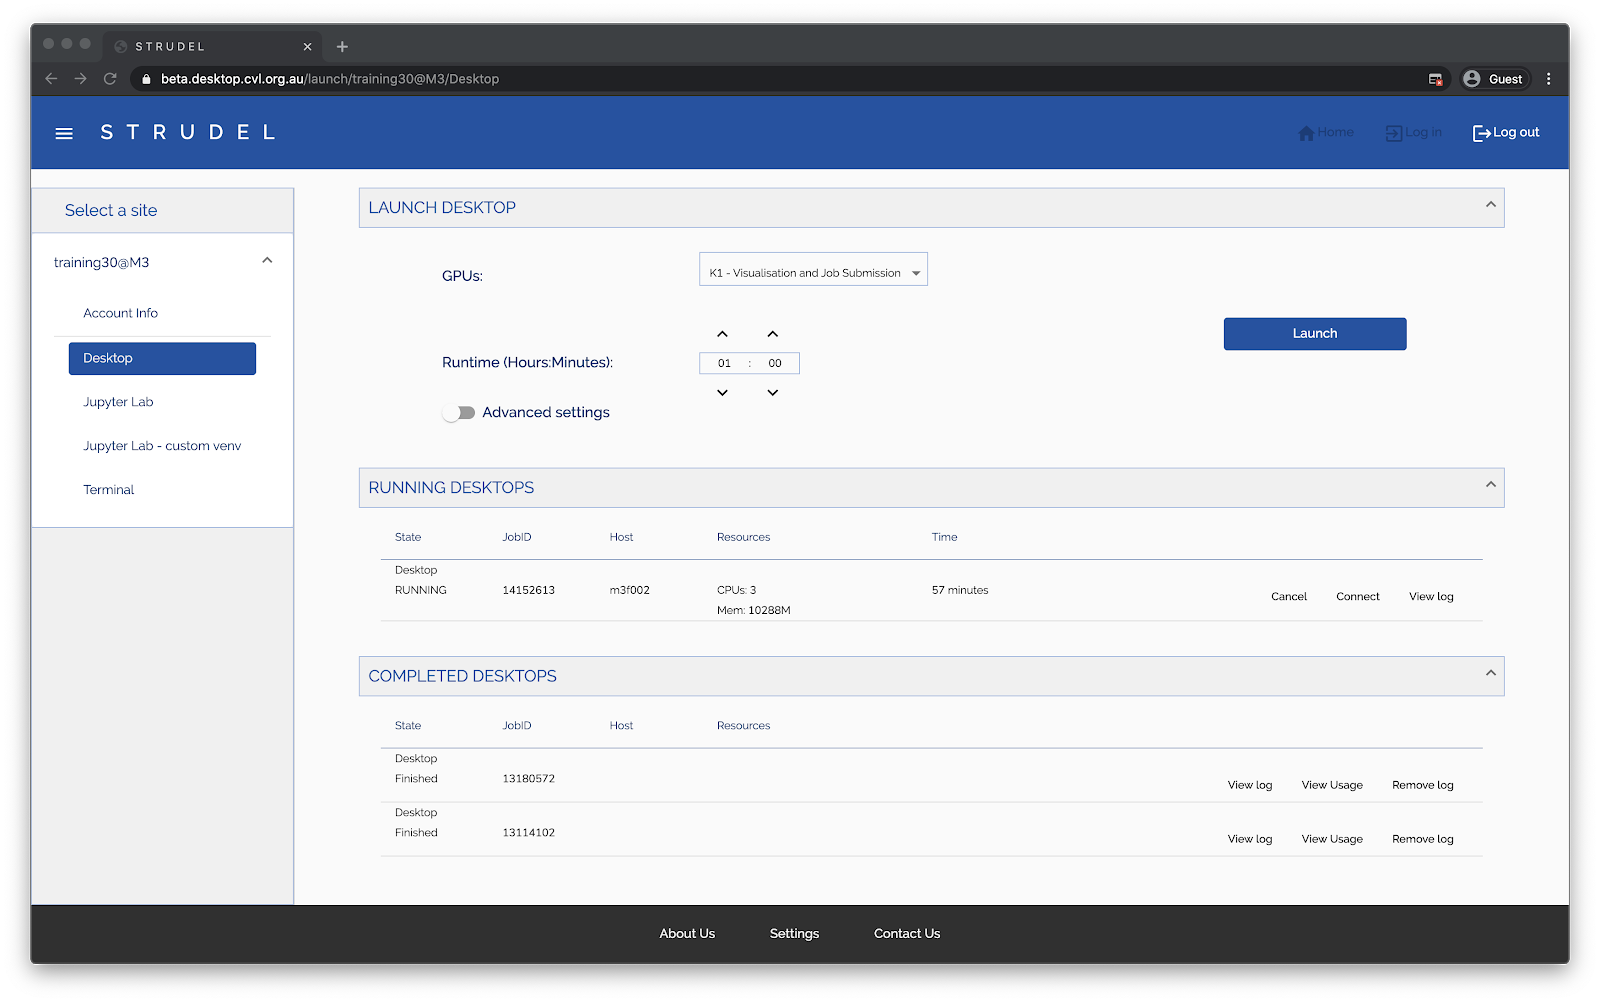
Once the desktop is ready for your use the status line in “RUNNING DESKTOPS” will change to include some extra buttons, “Connect” and “View log”. Select “Connect” and a new tab will open in your browser. If for some reason the “connect” step fails, select view log and forward that information along with your username and the JobID to the helpdesk for assistance.
The connection page will have a large “Connect” icon in the center that is used to open the connection from your web browser to the CVL desktop. In the event you leave the window open and do something else, eventually the page will timeout and “Connect” will be displayed again. You can keep connecting as many times as you need, and the desktop will continue to run until the job run time you selected is reached. If you get an error that says NoVNC can’t connect, go back to the Desktop application page, check that the job is still running and if so select “Connect” to open another tab which will attach to your existing desktop session.
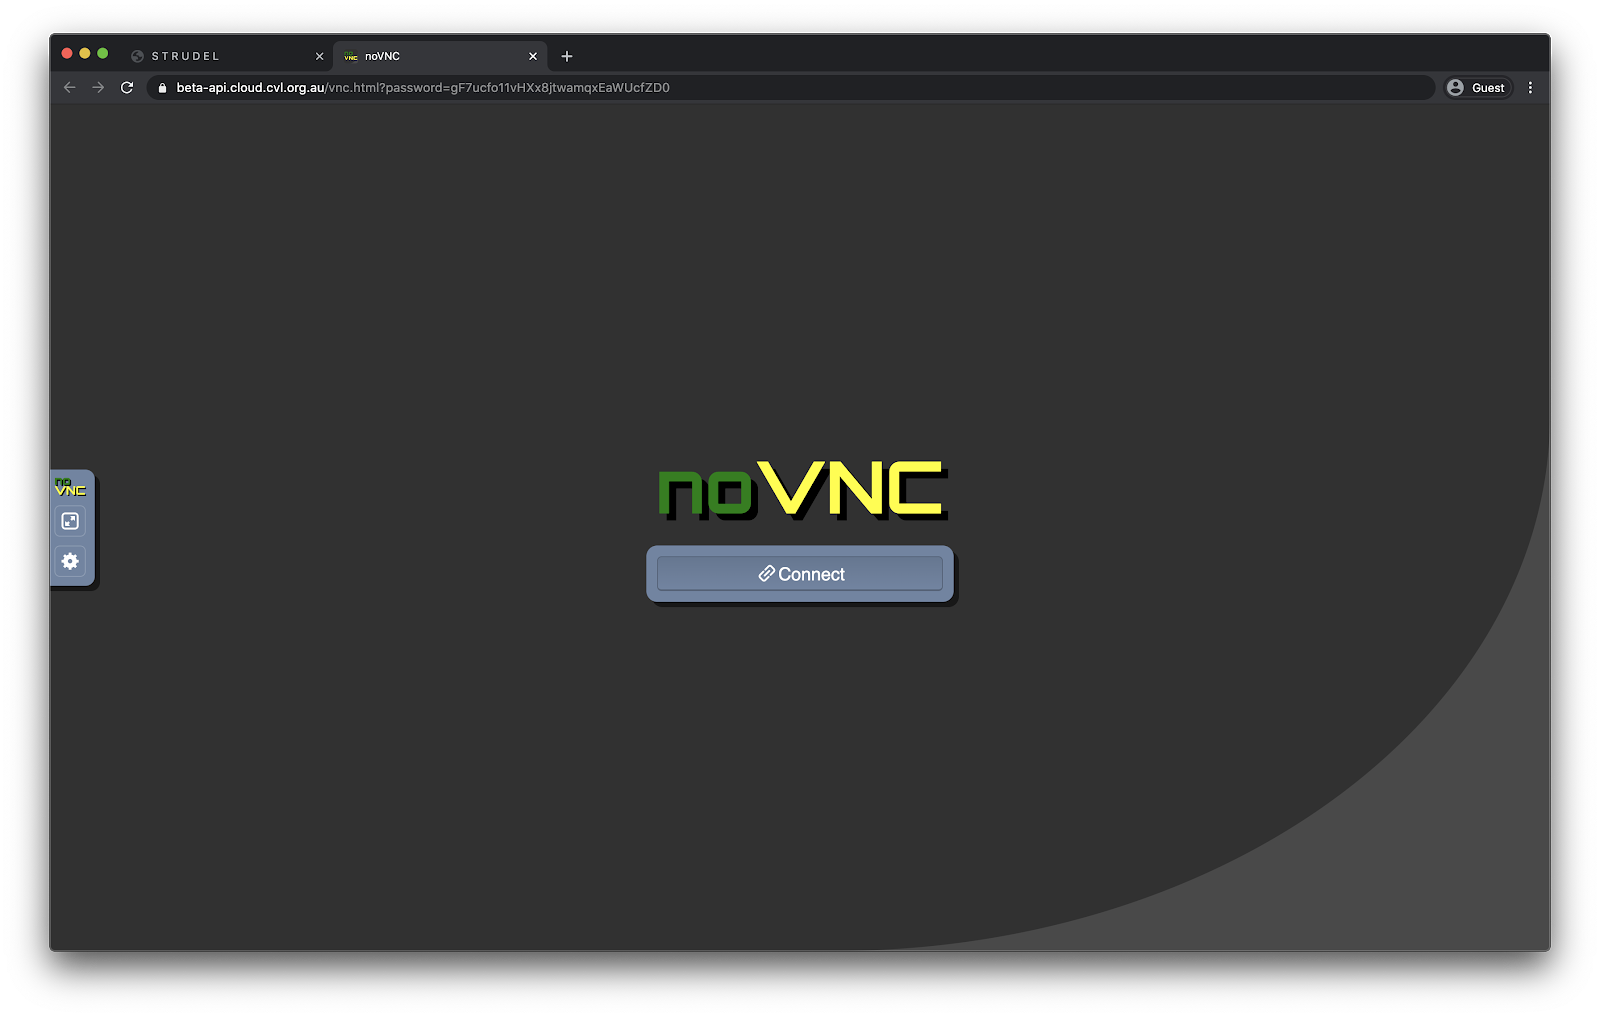
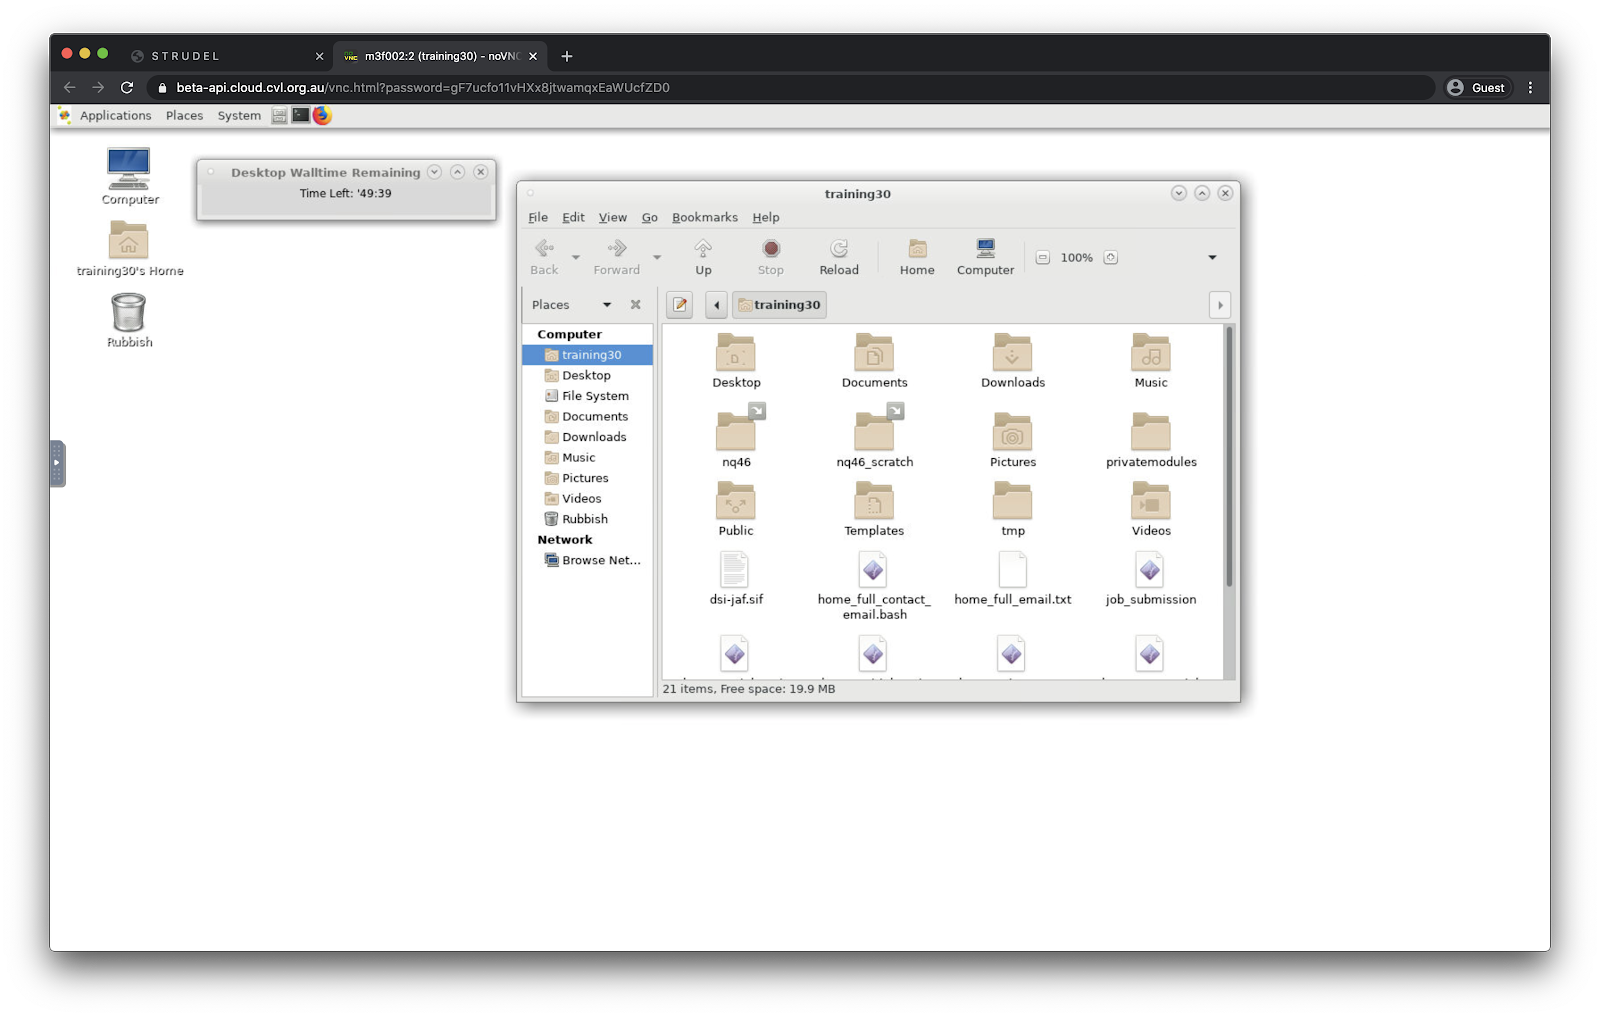
Once you click the “Connect” button you will be able to use the desktop to access your apps and files as usual.
Important Details for Using the Desktop
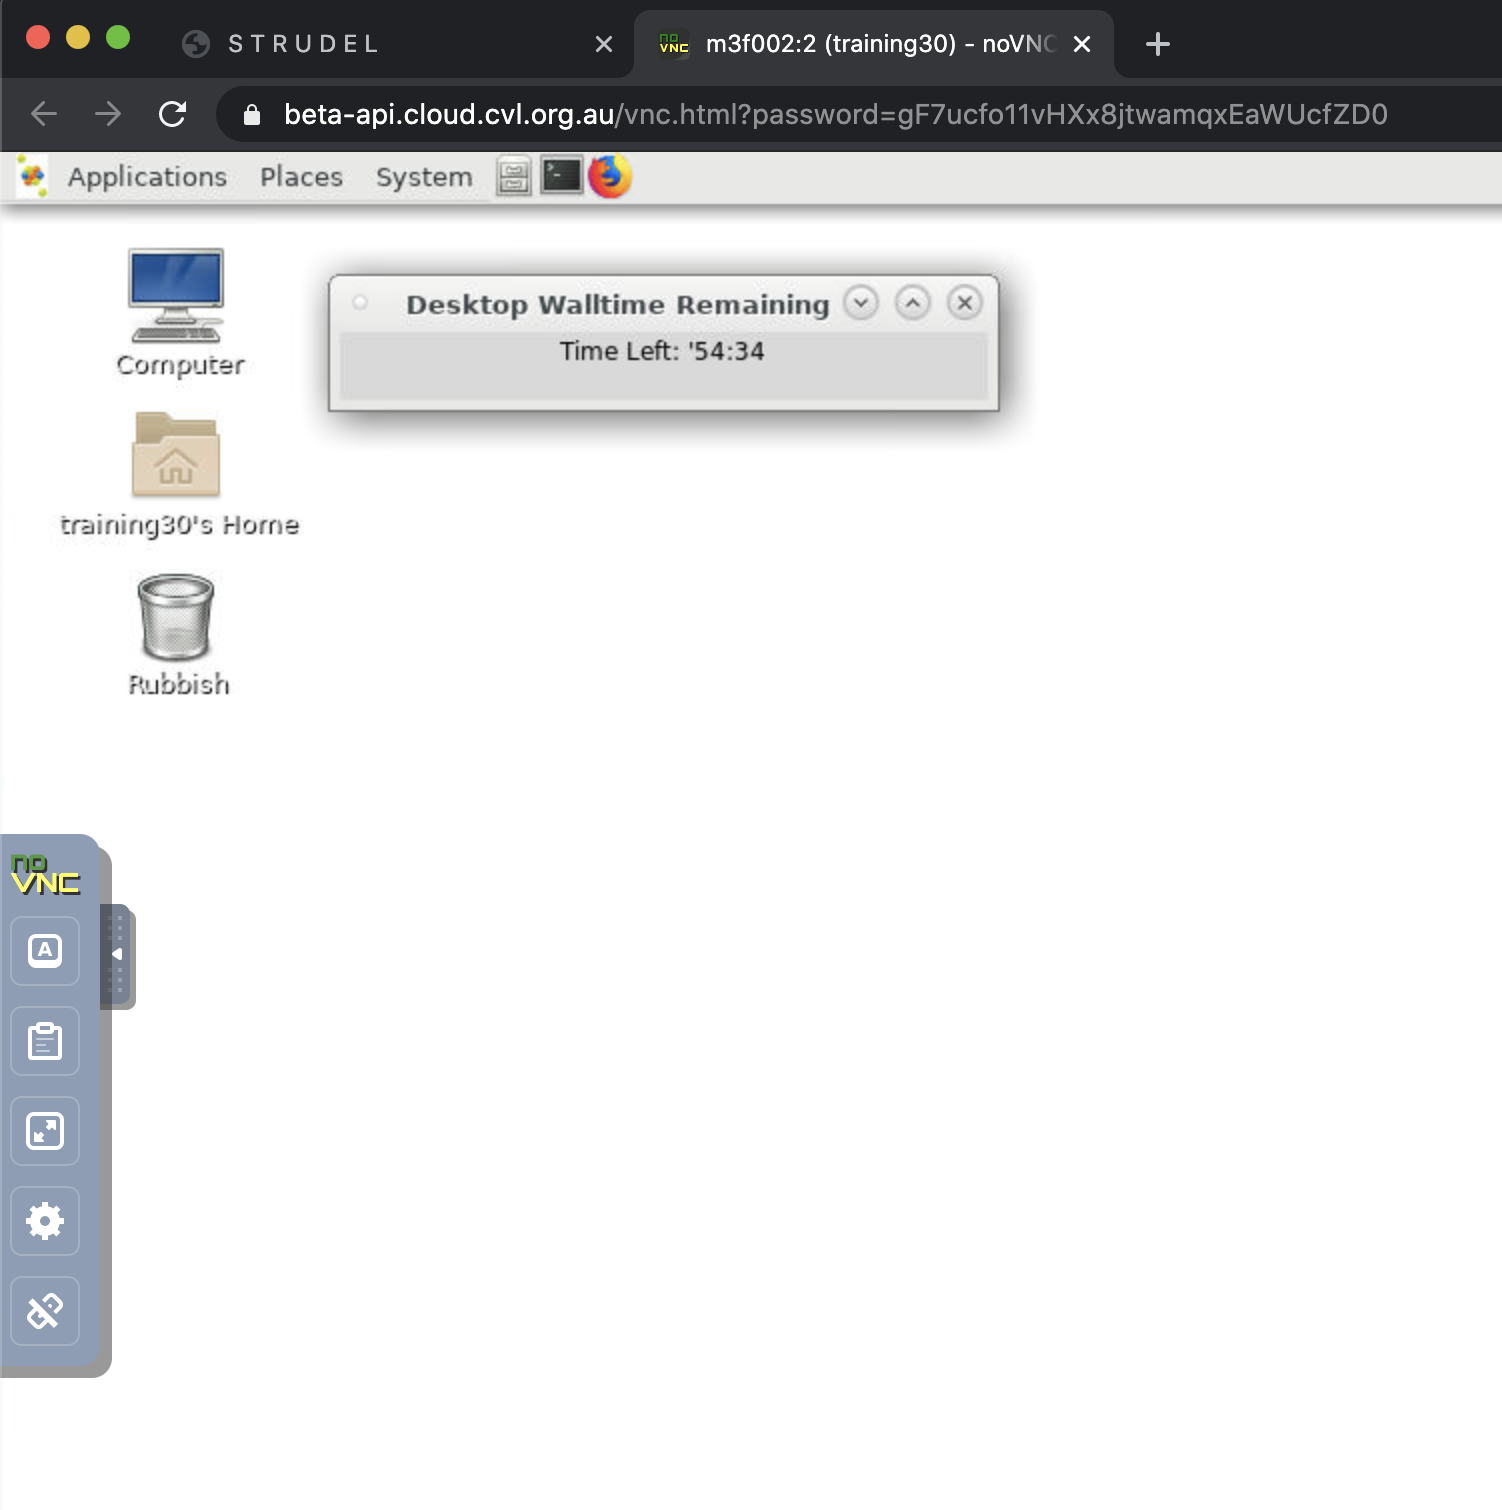
In the desktop session there are a couple of important aspects to note. The first is the timer, which shows how much longer it is till your desktop is terminated.
The second aspect to note is the small grey box on the left hand side of the screen in the middle. Clicking the arrow will bring out a menu that has some very useful features.
The two that are most relevant are the clipboard and settings.
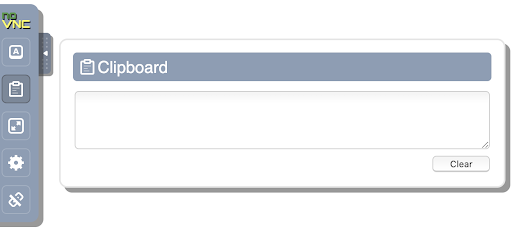
In the clipboard you can copy text into and out of the remote desktop. It is important to remember that the remote machine is a linux desktop and the copy and paste keys may be different from your local machine.
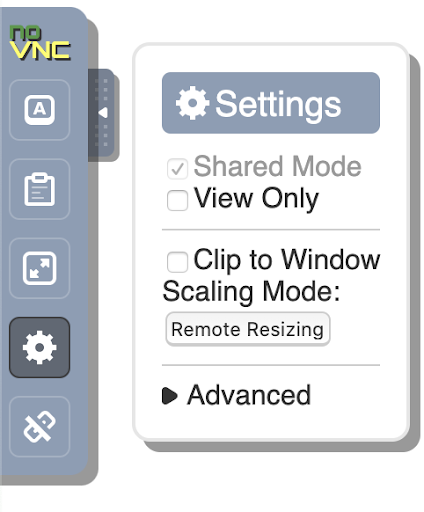
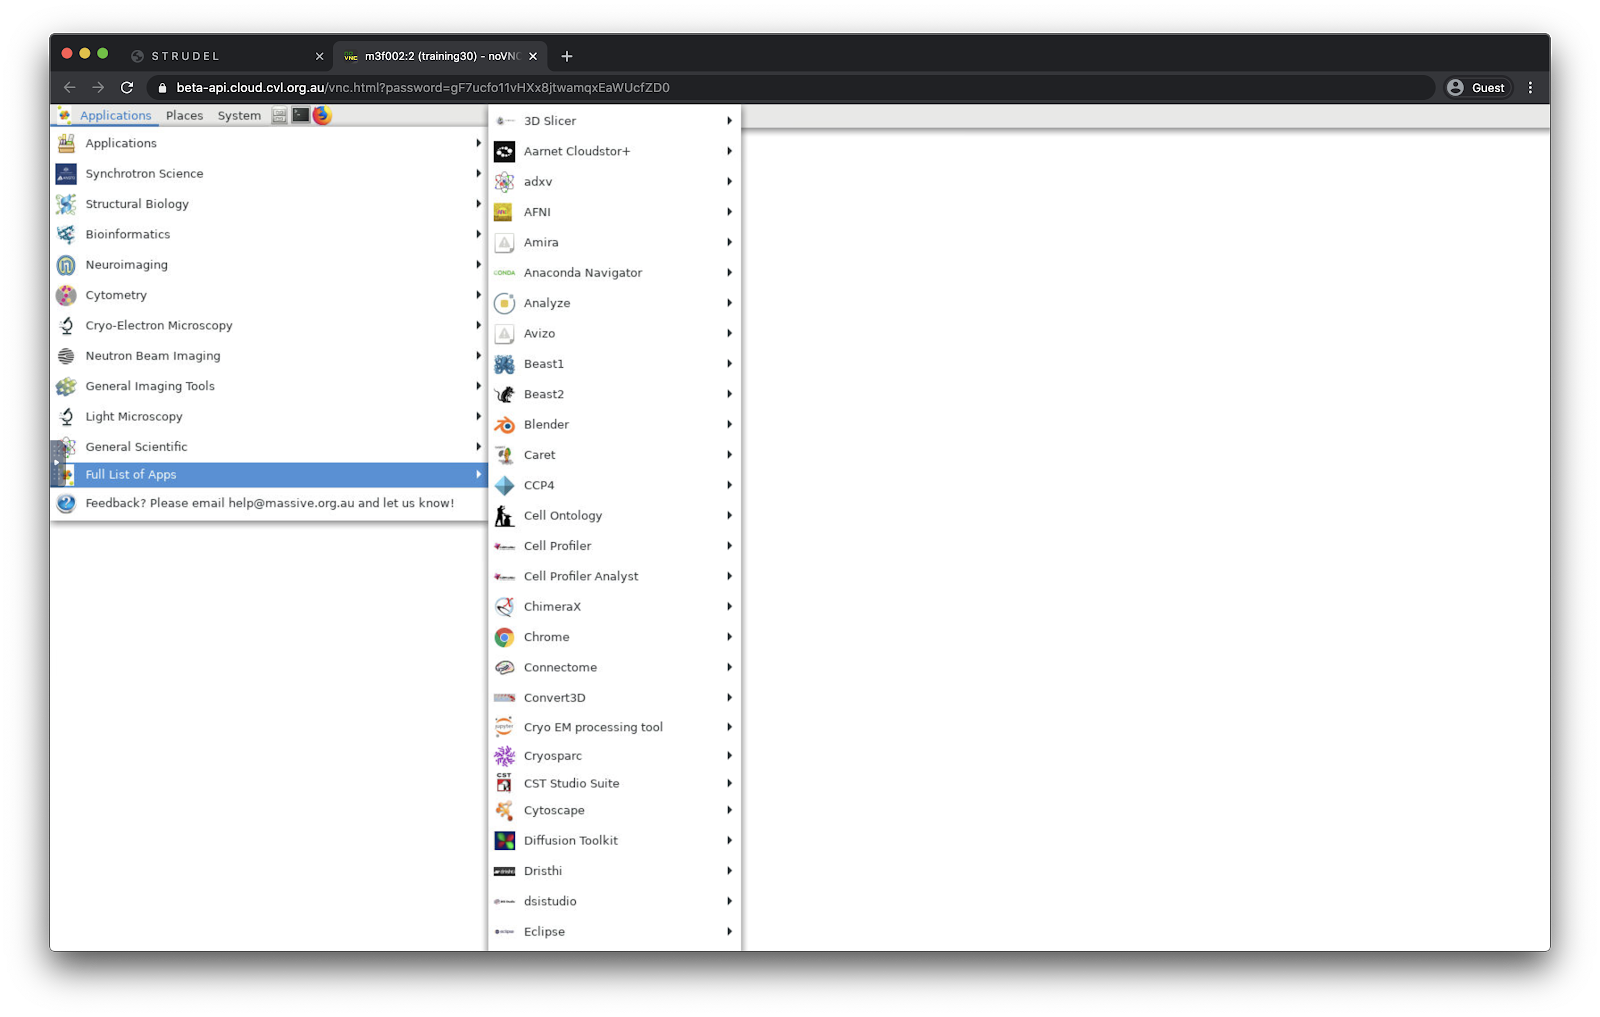
The settings menu allows you to change how the resolution is set within the remote desktop. To have the remote desktop reflect the local resolution set “Scaling Mode” to “Remote Resizing”. An important feature to note with the remote desktop is that it is possible to set a resolution far greater than your local machine, useful when inspecting large images for example. To change the resolution manually disable “Remote Resizing” and from the main desktop menu select “Full List of Apps/MASSIVE Utilities” and choose the resolution you want.