Running Python on M3#
M3 has a number of different versions of Python installed. To list them use the command:
# Listing python modules
module avail python

--------------------------------------------------- /usr/local/Modules/modulefiles ---------------------------------------------------
python/2.7.11-gcc           python/2.7.15-gcc5          python/3.5.2-gcc5           python/3.6.6-gcc5
python/2.7.12-gcc4(default) python/3.5.2-gcc            python/3.6.2                python/3.7.2-gcc6
python/2.7.12-gcc5          python/3.5.2-gcc4           python/3.6.2-static         python/3.7.3-system
The listed Python versions have a standard set of Python modules installed using
pip. As a user, you are unable to update or install your own Python modules into
the supplied Python software on Massive. This is because we install a base
version of Python, with specific libraries, into each module. If each and every
user was able to pip update the Python modules that they use, repeatability
and management of these modules would be impractical.
We recommend that users create a Python virtual environment (venv). A Python virtual environment effectively creates your own copy of Python, allowing you to install any Python modules you require. The instructions below focus on creating a Python virtual environment using the 3.6.2 module installed on M3.
destinationPath is the location you use to install Python on Massive.
#Setup python virtualenv - need to use this path to avoid 'module load'
/usr/local/python/3.6.2-static/bin/python3 -m venv destinationPath

#Activate the virtual environment - do this for each shell session
source destinationPath/bin/activate

#Upgrade pip
pip install --upgrade pip
Note
For each new shell session created, source destinationPath/bin/activate
is required to use your Python virtual environment.
To better understand Python virtual environments please refer to https://docs.python.org/3/tutorial/venv.html
Using PyCharm with your Virtual environment#
After successfully creating your own virtual environment, you can use it in your PyCharm projects.
The first step is to start PyCharm. Start a Massive desktop session and select PyCharm from the menu. Please refer to Connecting to M3 via Strudel2.
Once PyCharm is up and running, select File, New Project.
2. You will be presented with the Create Project window. Click on the arrow next to ‘Project Interpreter’

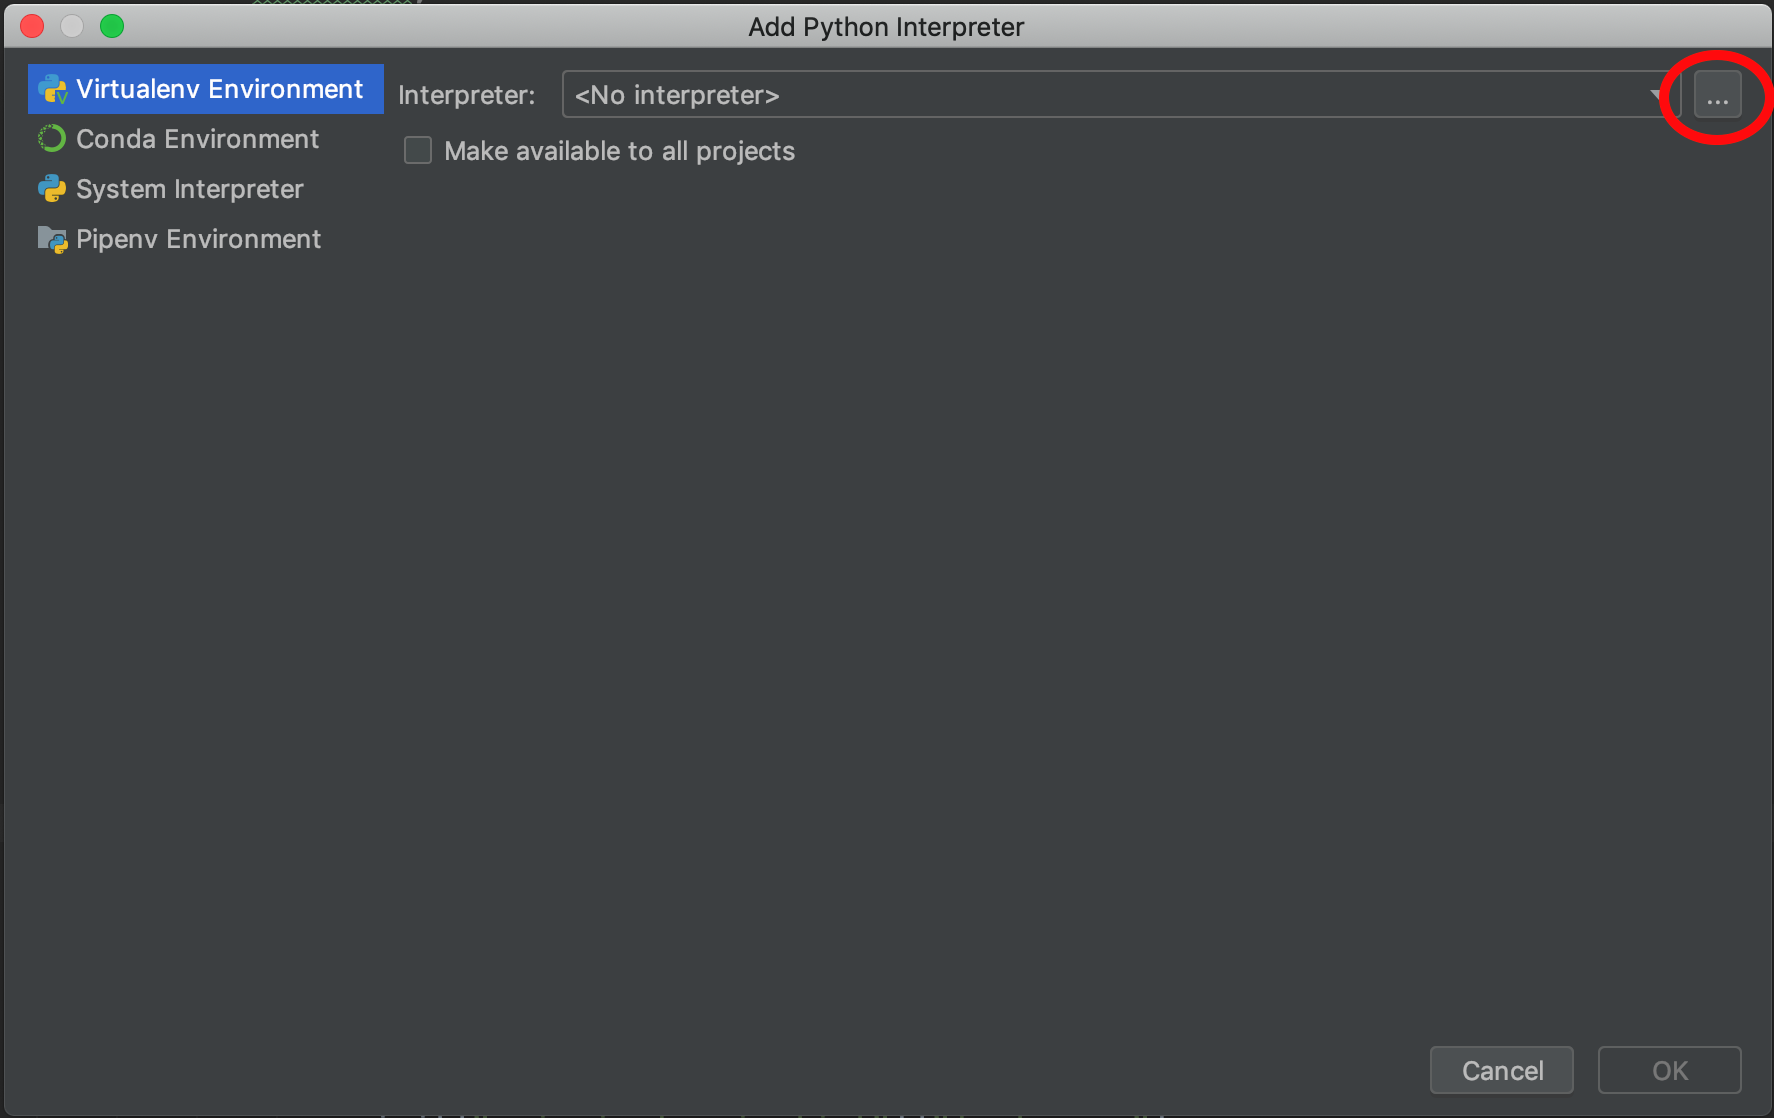
Select ‘Existing interpreter’ and click the ‘browse’ icon.

4. Browse to the location where you created your virtual environment, enter the ‘bin’ folder, then select the ‘python’ executable. Click OK.
Click OK.

6. Back on the Create Project window, enter the new project name. Click OK. You now have a PyCharm project setup using your new virtual environment.